Tables
Tables
Tables are a great way of providing visually structured information without the need for a full database functionality.
Capacities' tables are designed to seamlessly blend into your notes, but with the added flexibility of becoming full objects if you need.
Creating a table
Similar to other blocks, tables can be created by typing + table or / table.
You will get a basic table created for you with 2 columns and 3 rows.
From here, feel free to change the dimensions. You can click and drag the + buttons that appear to the right of your columns, or underneath your rows.
If you want to adjust both columns and rows at the same time, you can click and drag the + in the bottom right corner of your table.
You can also click and drag columns and rows to reorder them too.
You can create header columns or rows if that suits your use-case. You do this by clicking on the "option menu" button. This gives you a colored-in background and bold text, to differentiate the header row/columns from the cells beneath them.
Pasting in markdown tables
If you have a standard-style markdown table from a different tool, you will be able to paste this into Capacities and it will transform into the Capacities-style tables.
Navigating your table
You can use the arrow keys to navigate through cells in your table.
You can Shift + Click to highlight cells and you can edit the selection from there, such as bulk adding bold or italic formatting to your cells.
Alternatively you can use Shift and your arrows to edit the size of the selection.
You can use Backspace to clear content from cell and Cmd + Backspace (Mac) or Ctrl + Backspace (Windows) to delete whole rows and columns.
Shortcuts
There are also some built in shortcuts:
Shift+Enterto add a line break within the same cellCmd + Enteron Mac orCtrl + Enteron Windows to create a new rowCmd + Shift + Enteron Mac orCtrl + Shift + Enteron Windows to create a new column- If you have selected a row or a column, use
Optionon Mac orAlton Windows with your arrows to move the rows or columns to another position.
The block shortcuts used in text editing also work in tables.
Using your table
Formatting text
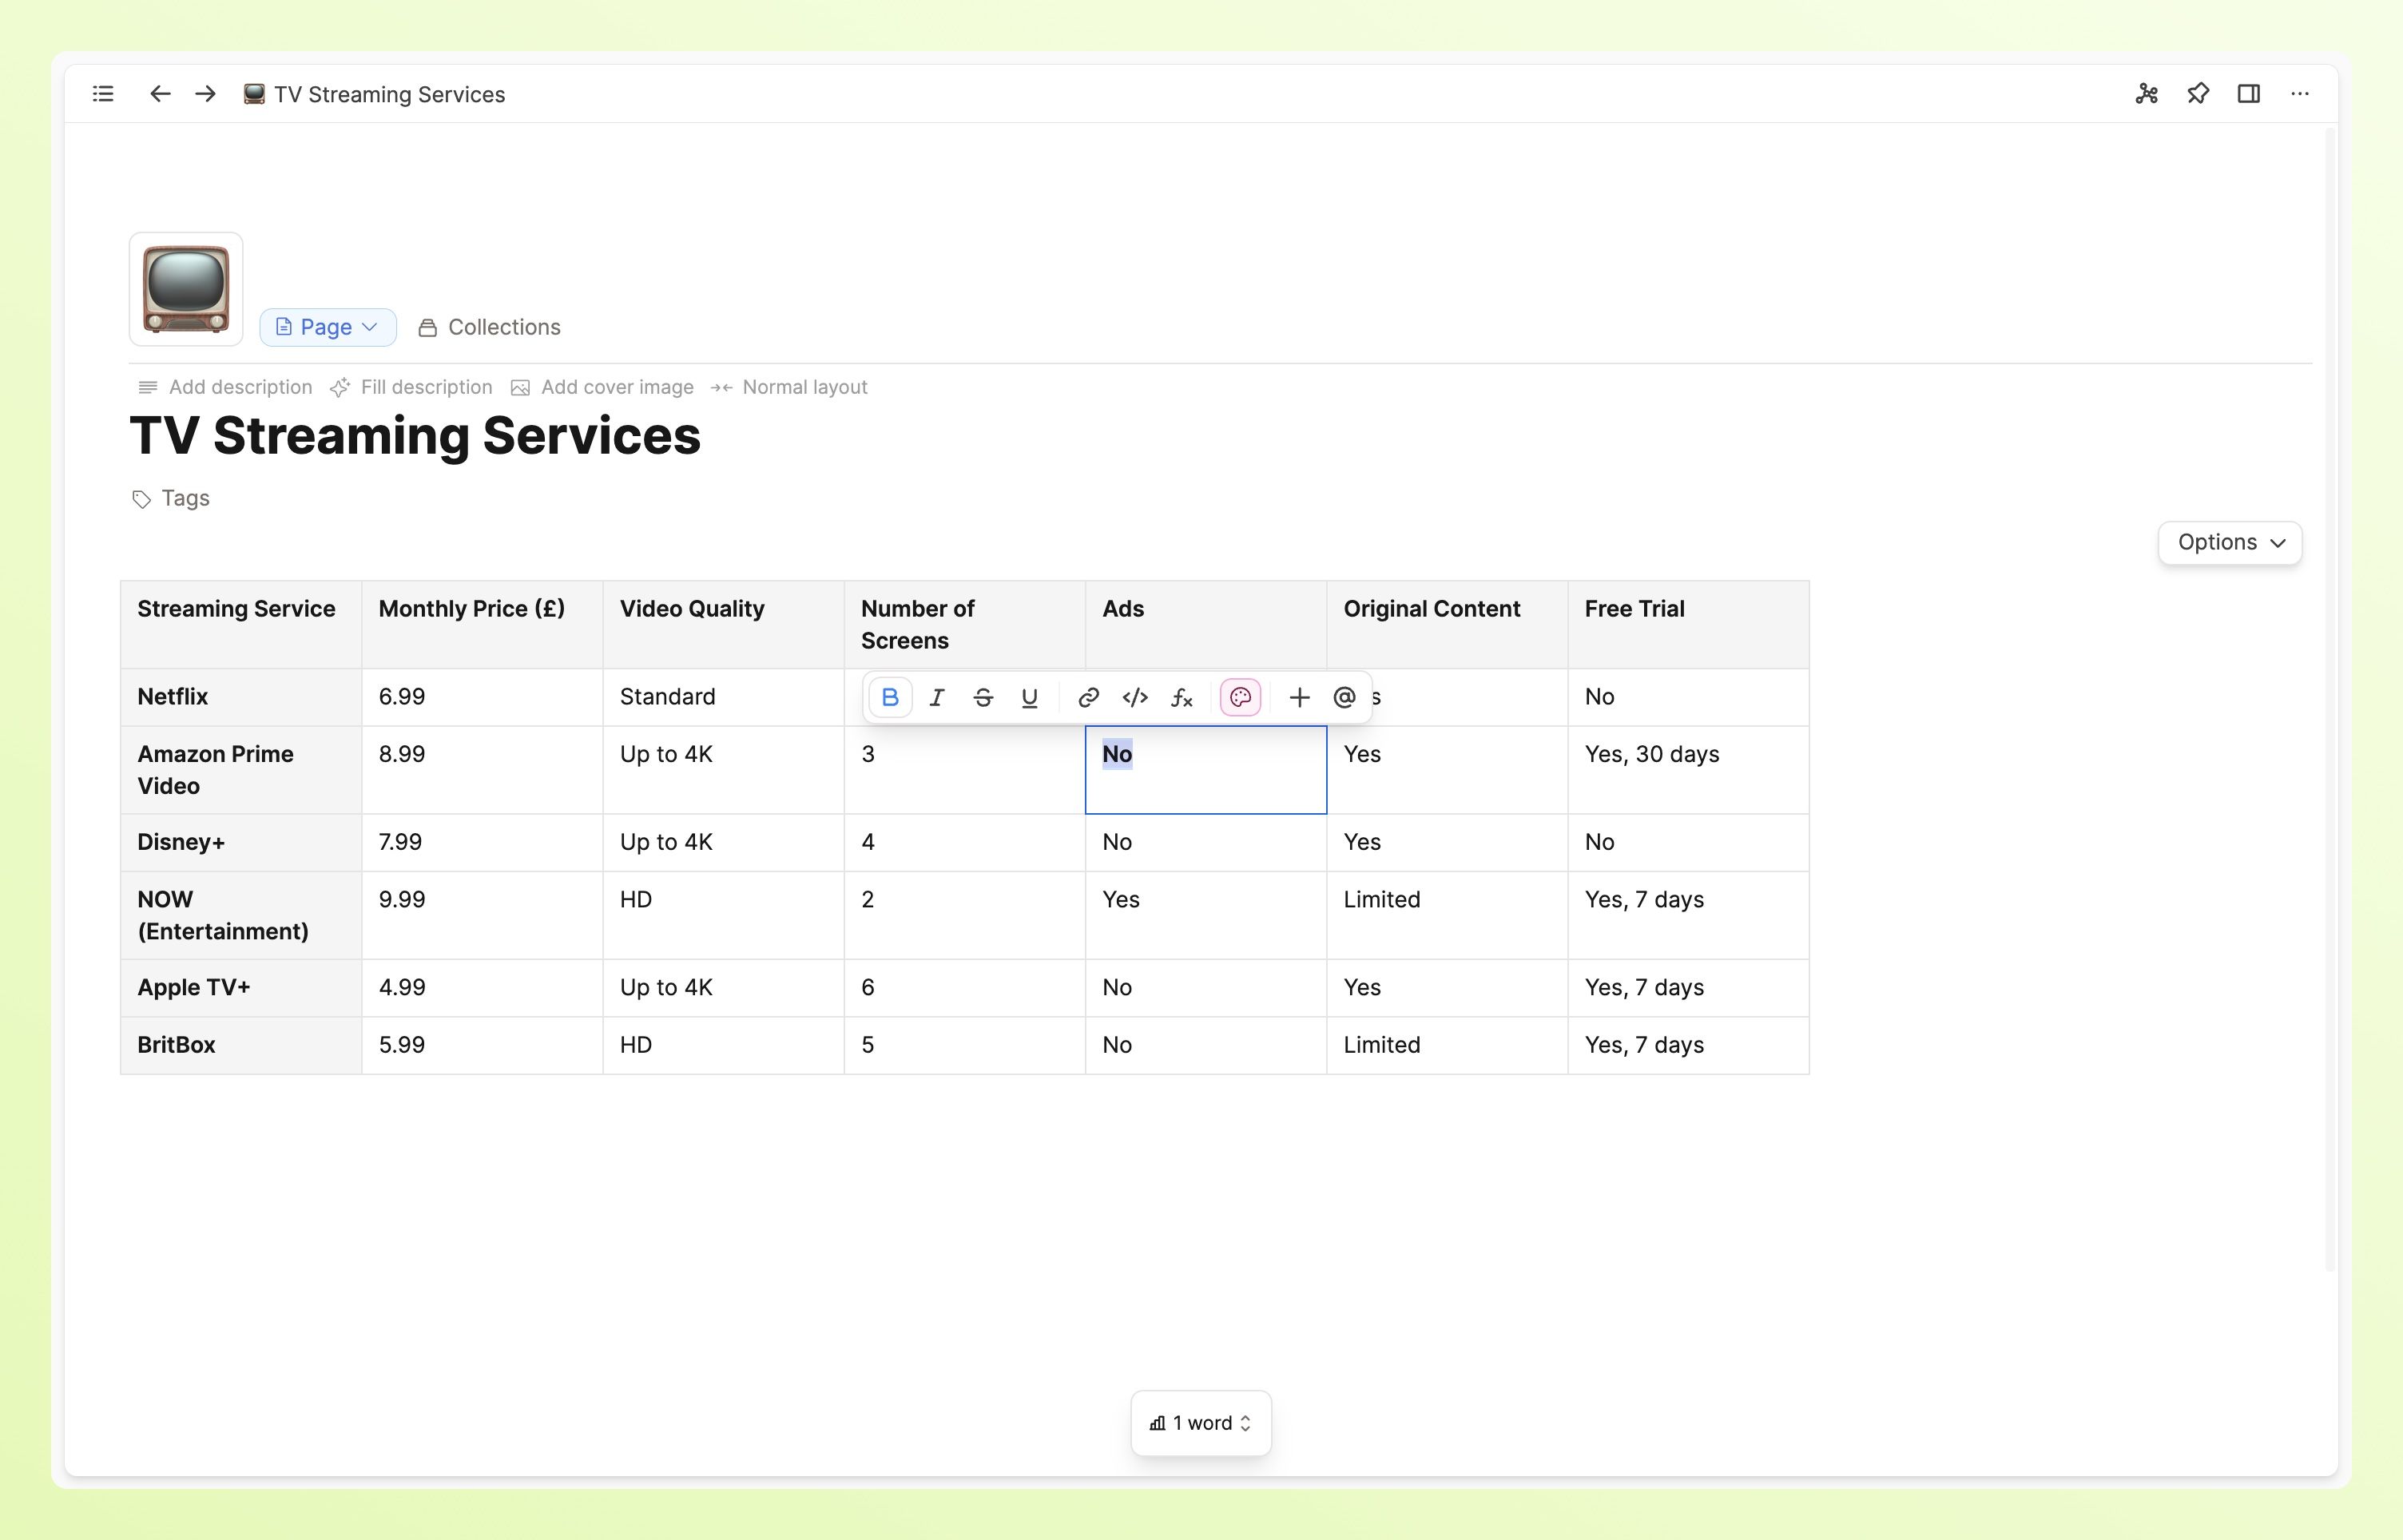
The content of your cells works like text blocks you use elsewhere.
You will recognize the menu that pops up when you highlight your text: here you can apply text formatting, link to external content, or link to objects.
Formatting the cells
To style the background of your cells, highlight them with Shift + arrows, navigate to the action panel and choose your style from there.
The action panel lets you
- align your text
- color the cells
- bulk add text styles (such as bold or italic)
- assign number formatting
If you decide you no longer want a style you previously applied, you can open the option menu and click 'clear cell styles'.
Reordering cells
You might want to manually reorder cells, you can do that by clicking and dragging.
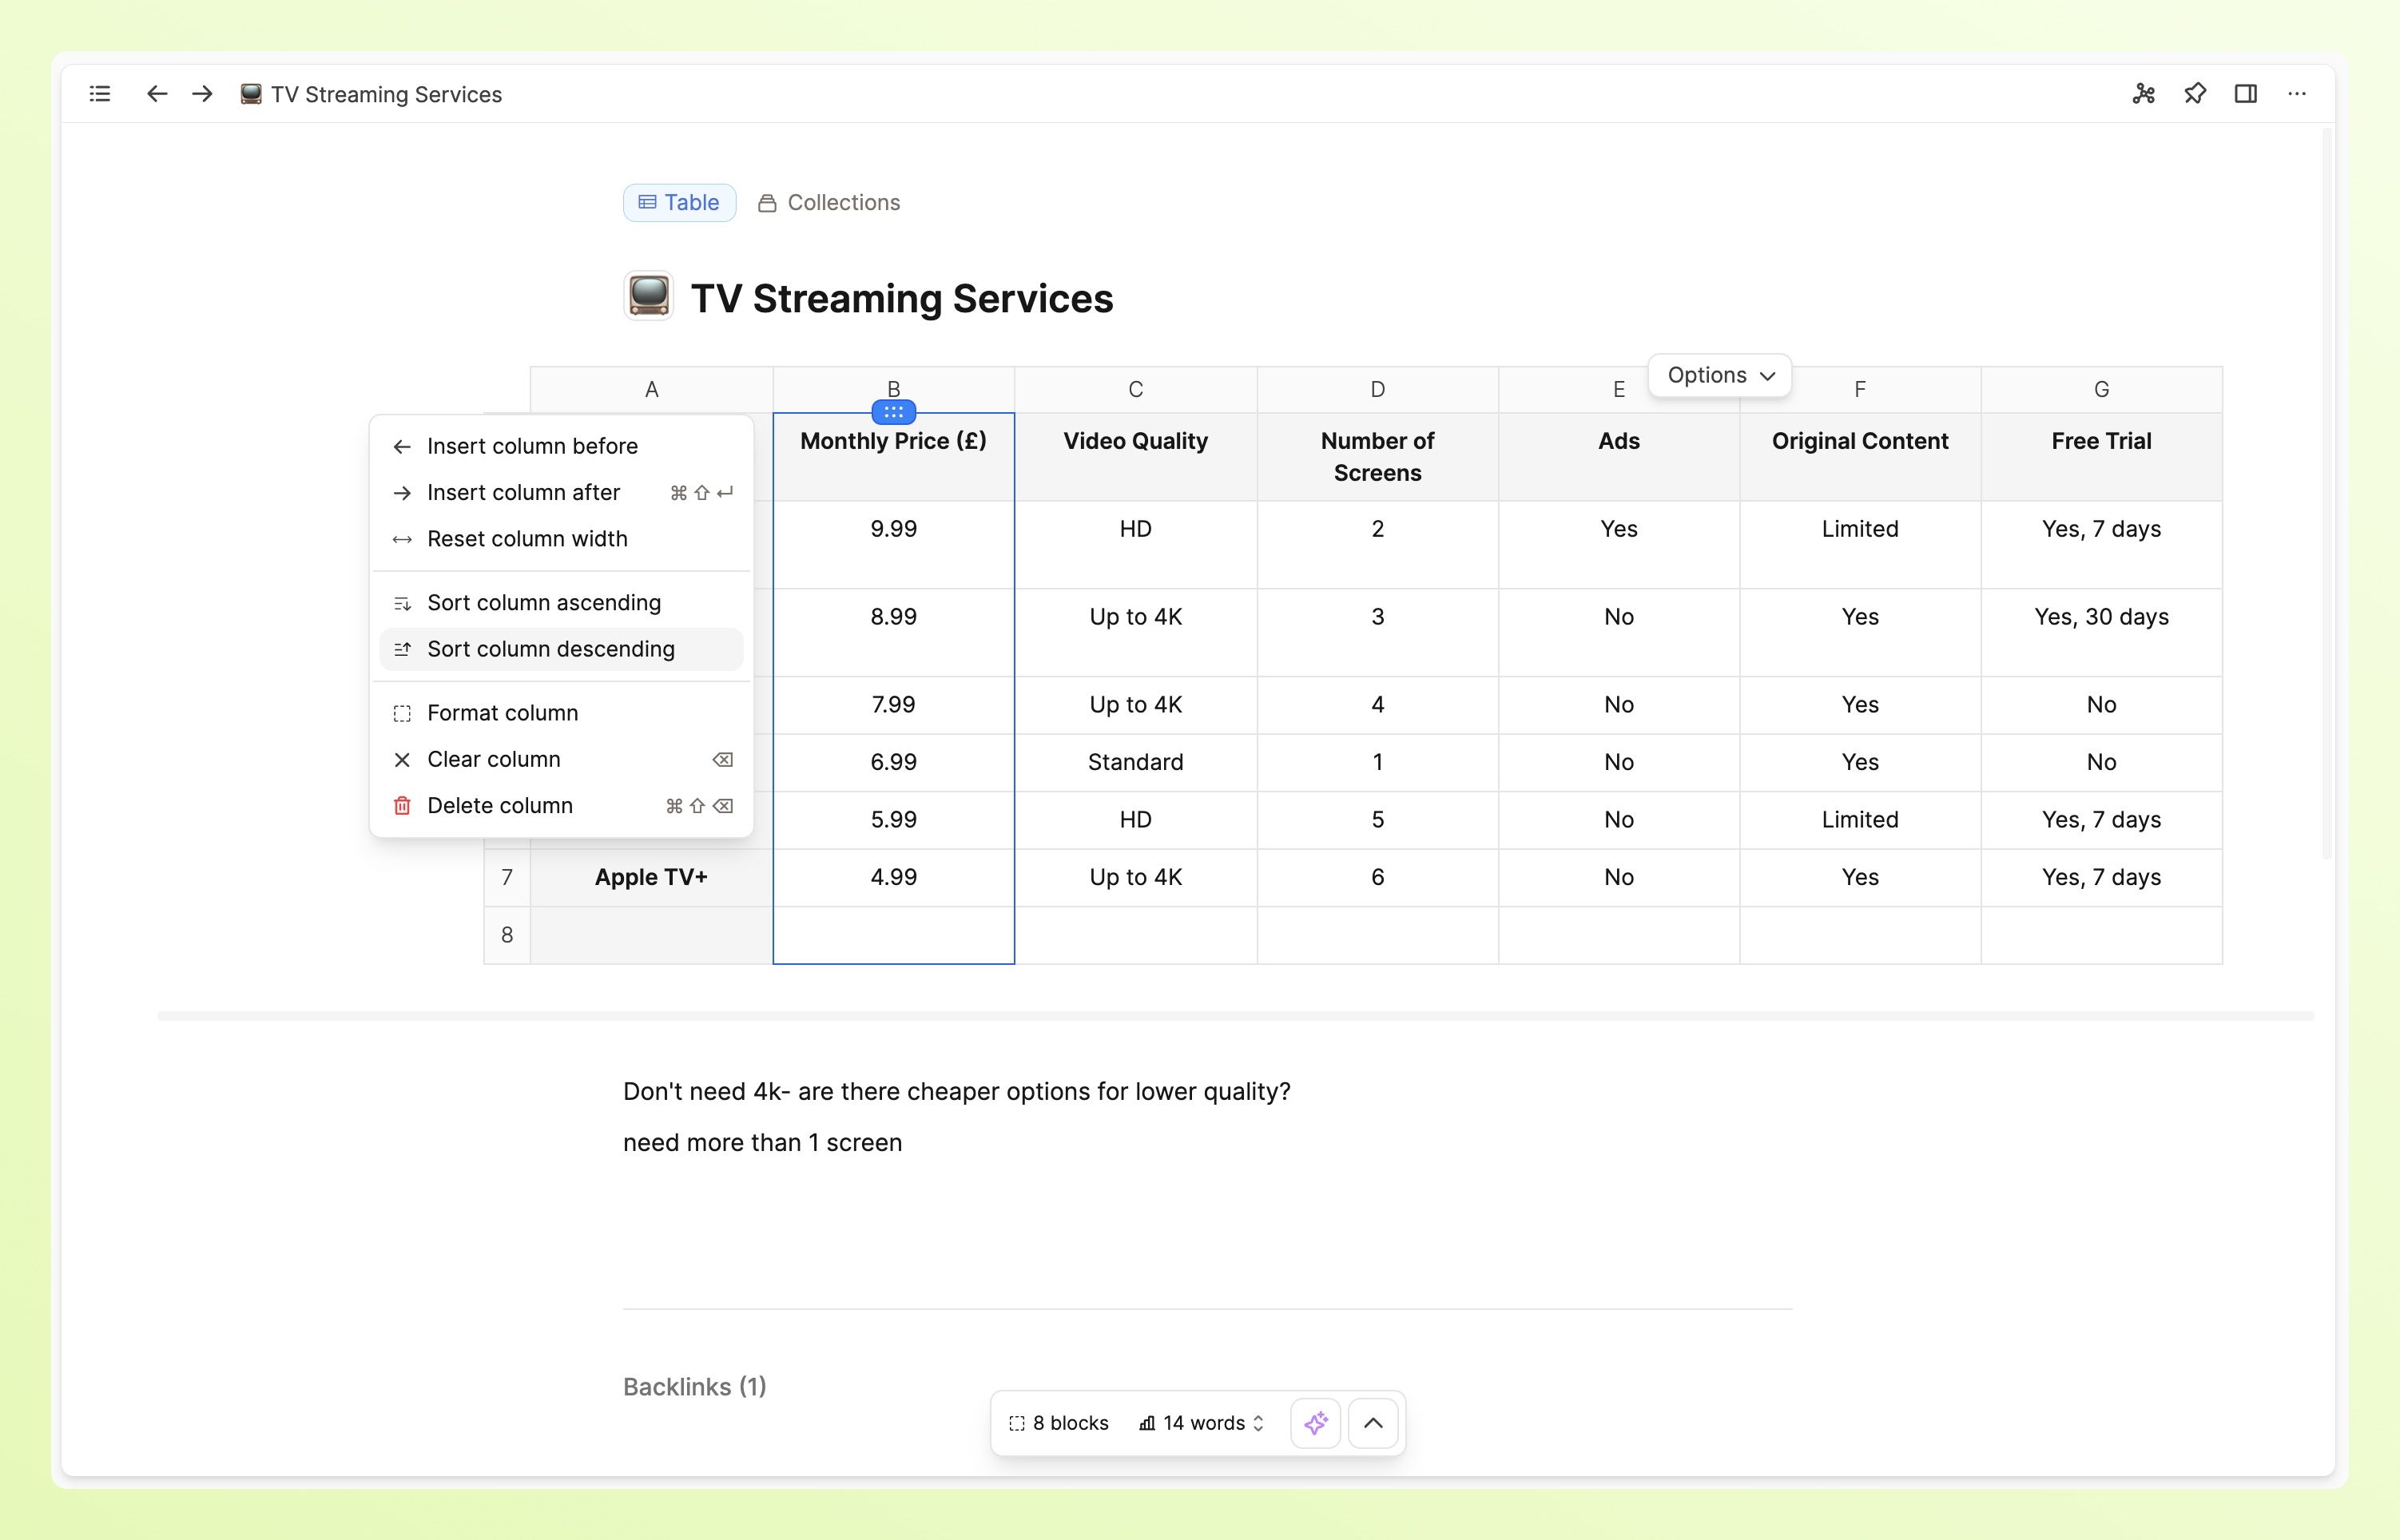
Or you might want to sort cells in ascending/descending order. You can do this by clicking on the column menu and choosing the right option for you.
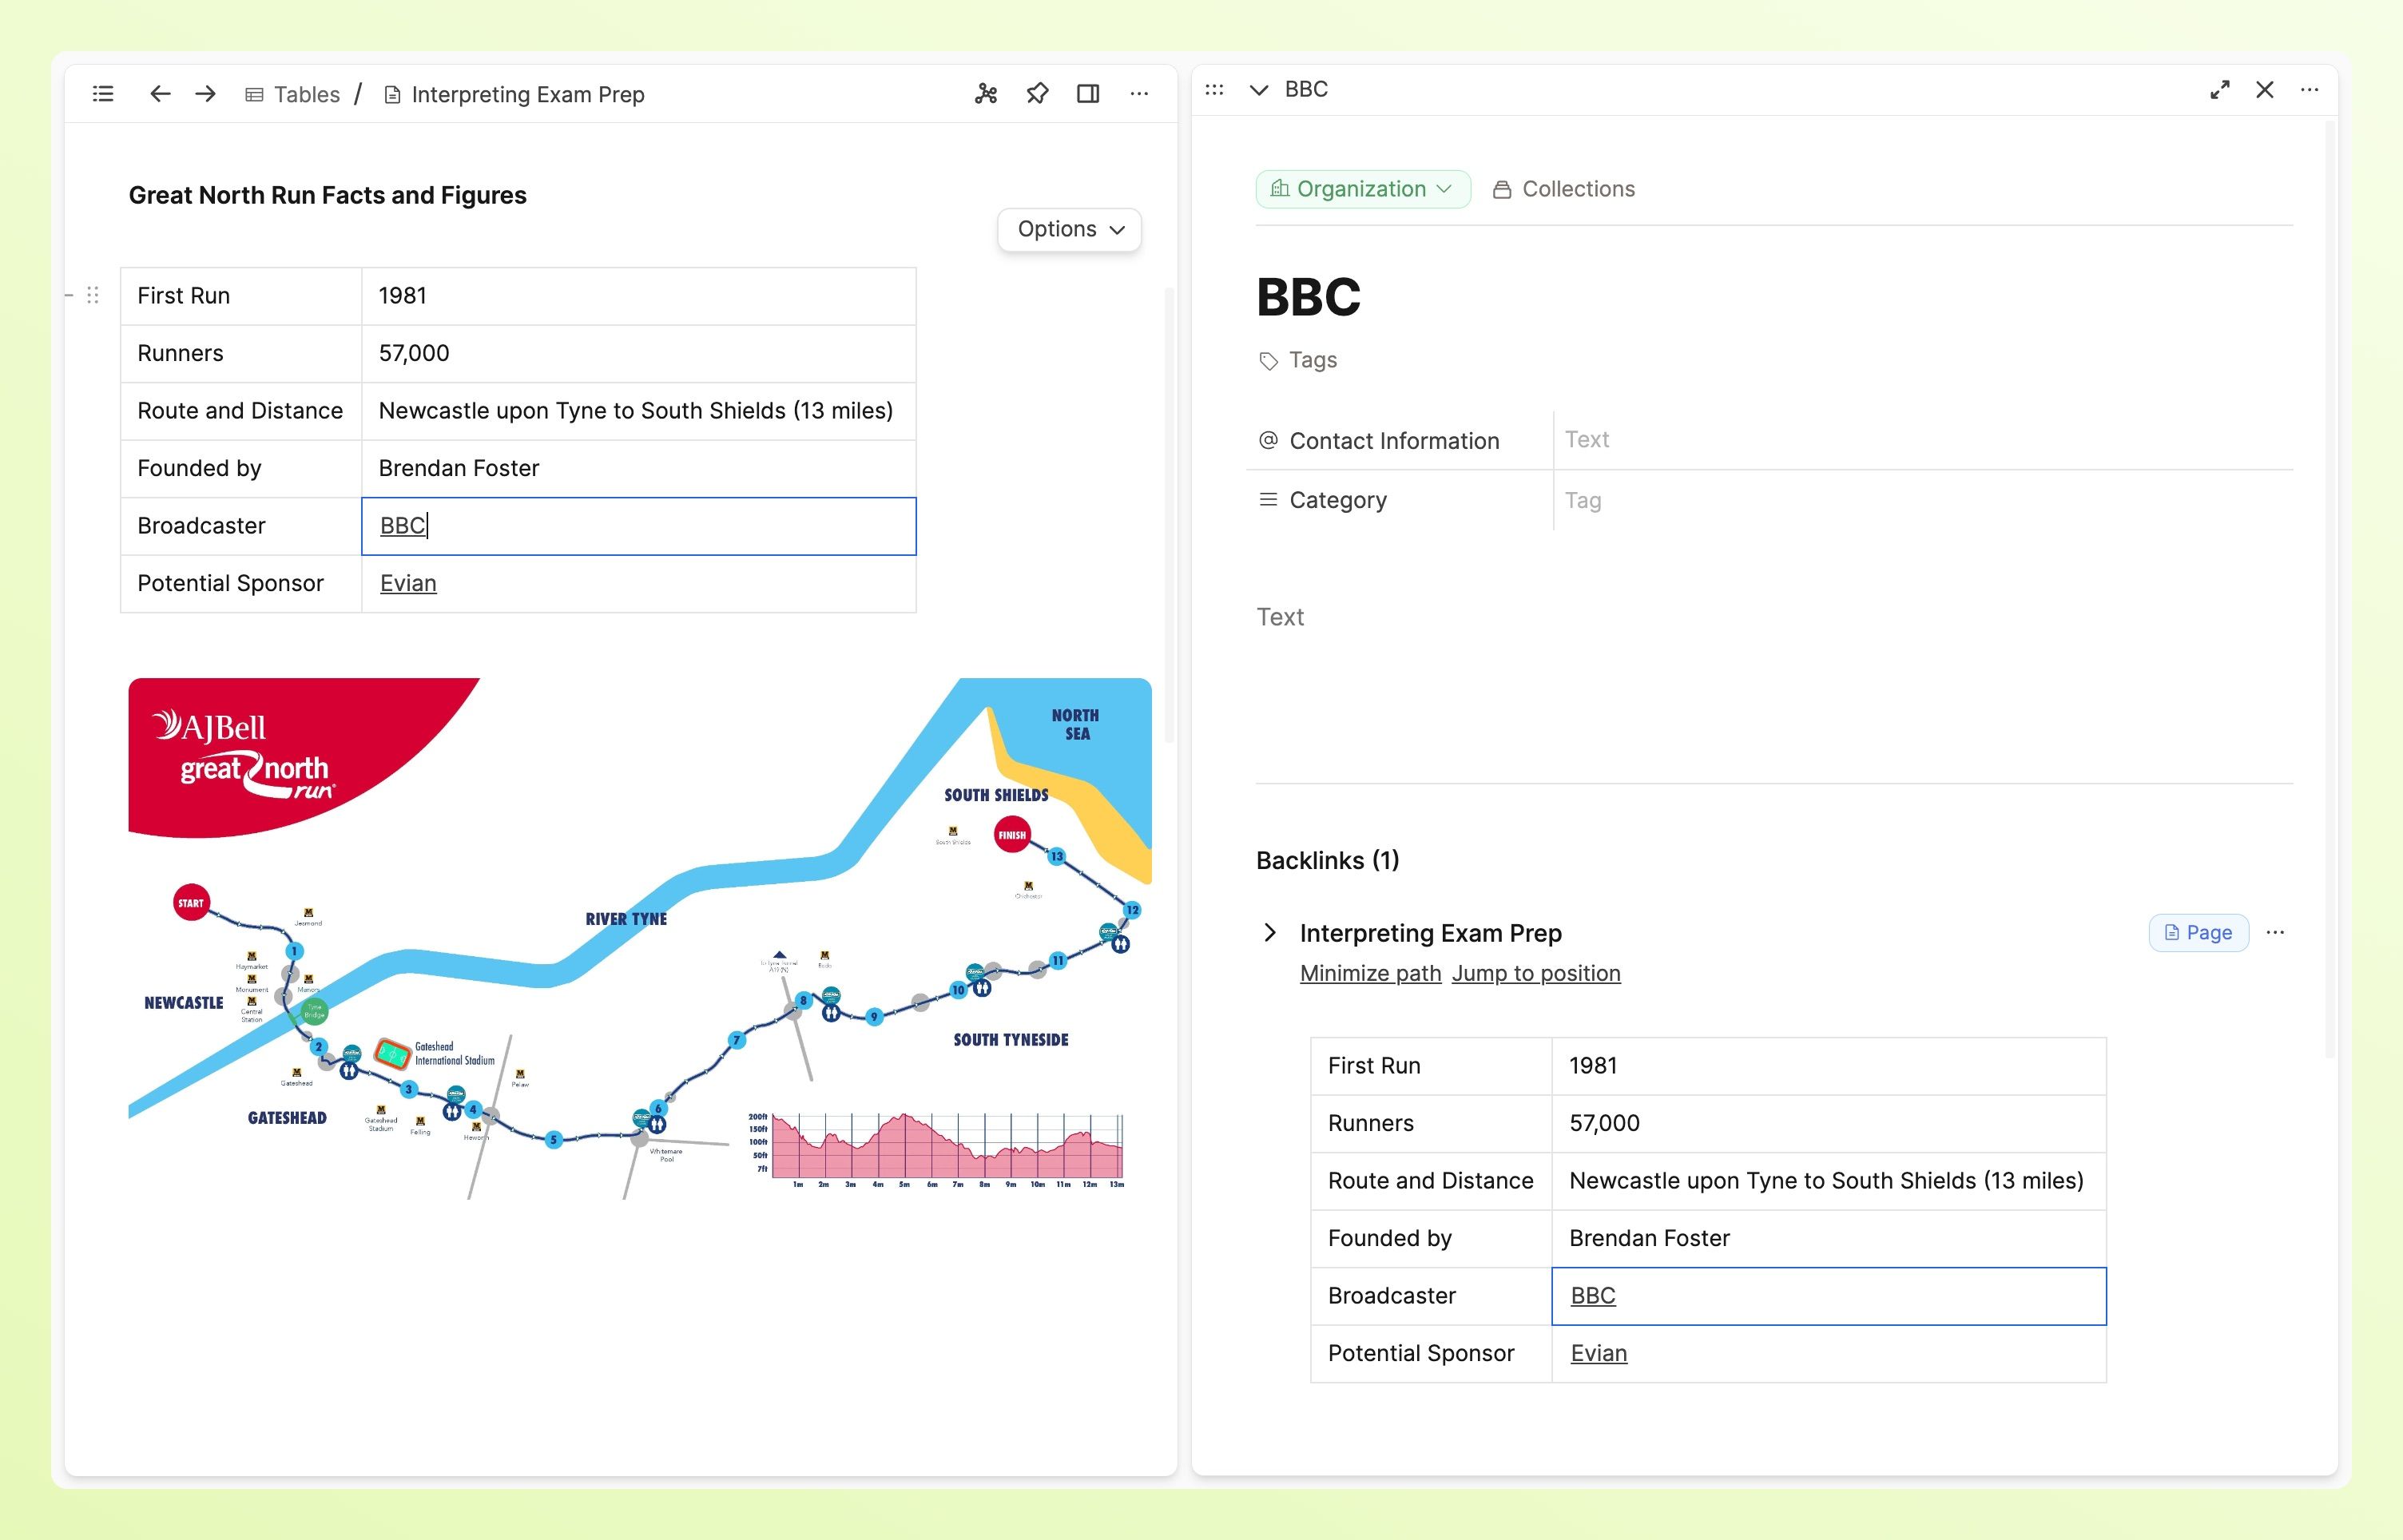
Linking
Tables are designed to give you another useful view when working with your notes. To make this most effective, it's important that you can link to other objects from your cells.
You can do this with the usual @ or [[]] shortcuts.
Turning into objects
Capacities ProYou might have some tables that are particularly important or useful for use in multiple objects. For these cases, you can turn your table blocks into table objects.
All your table objects will be found in the built-in table object type. Here you can review all the tables you've saved, give them titles, tags, or organize them into collections. Tables can blend in seamlessly with the existing organizational patterns you might have set up.
You can of course embed this table in your other objects.
To turn a table into an object, open the option menu and click 'turn into object'.
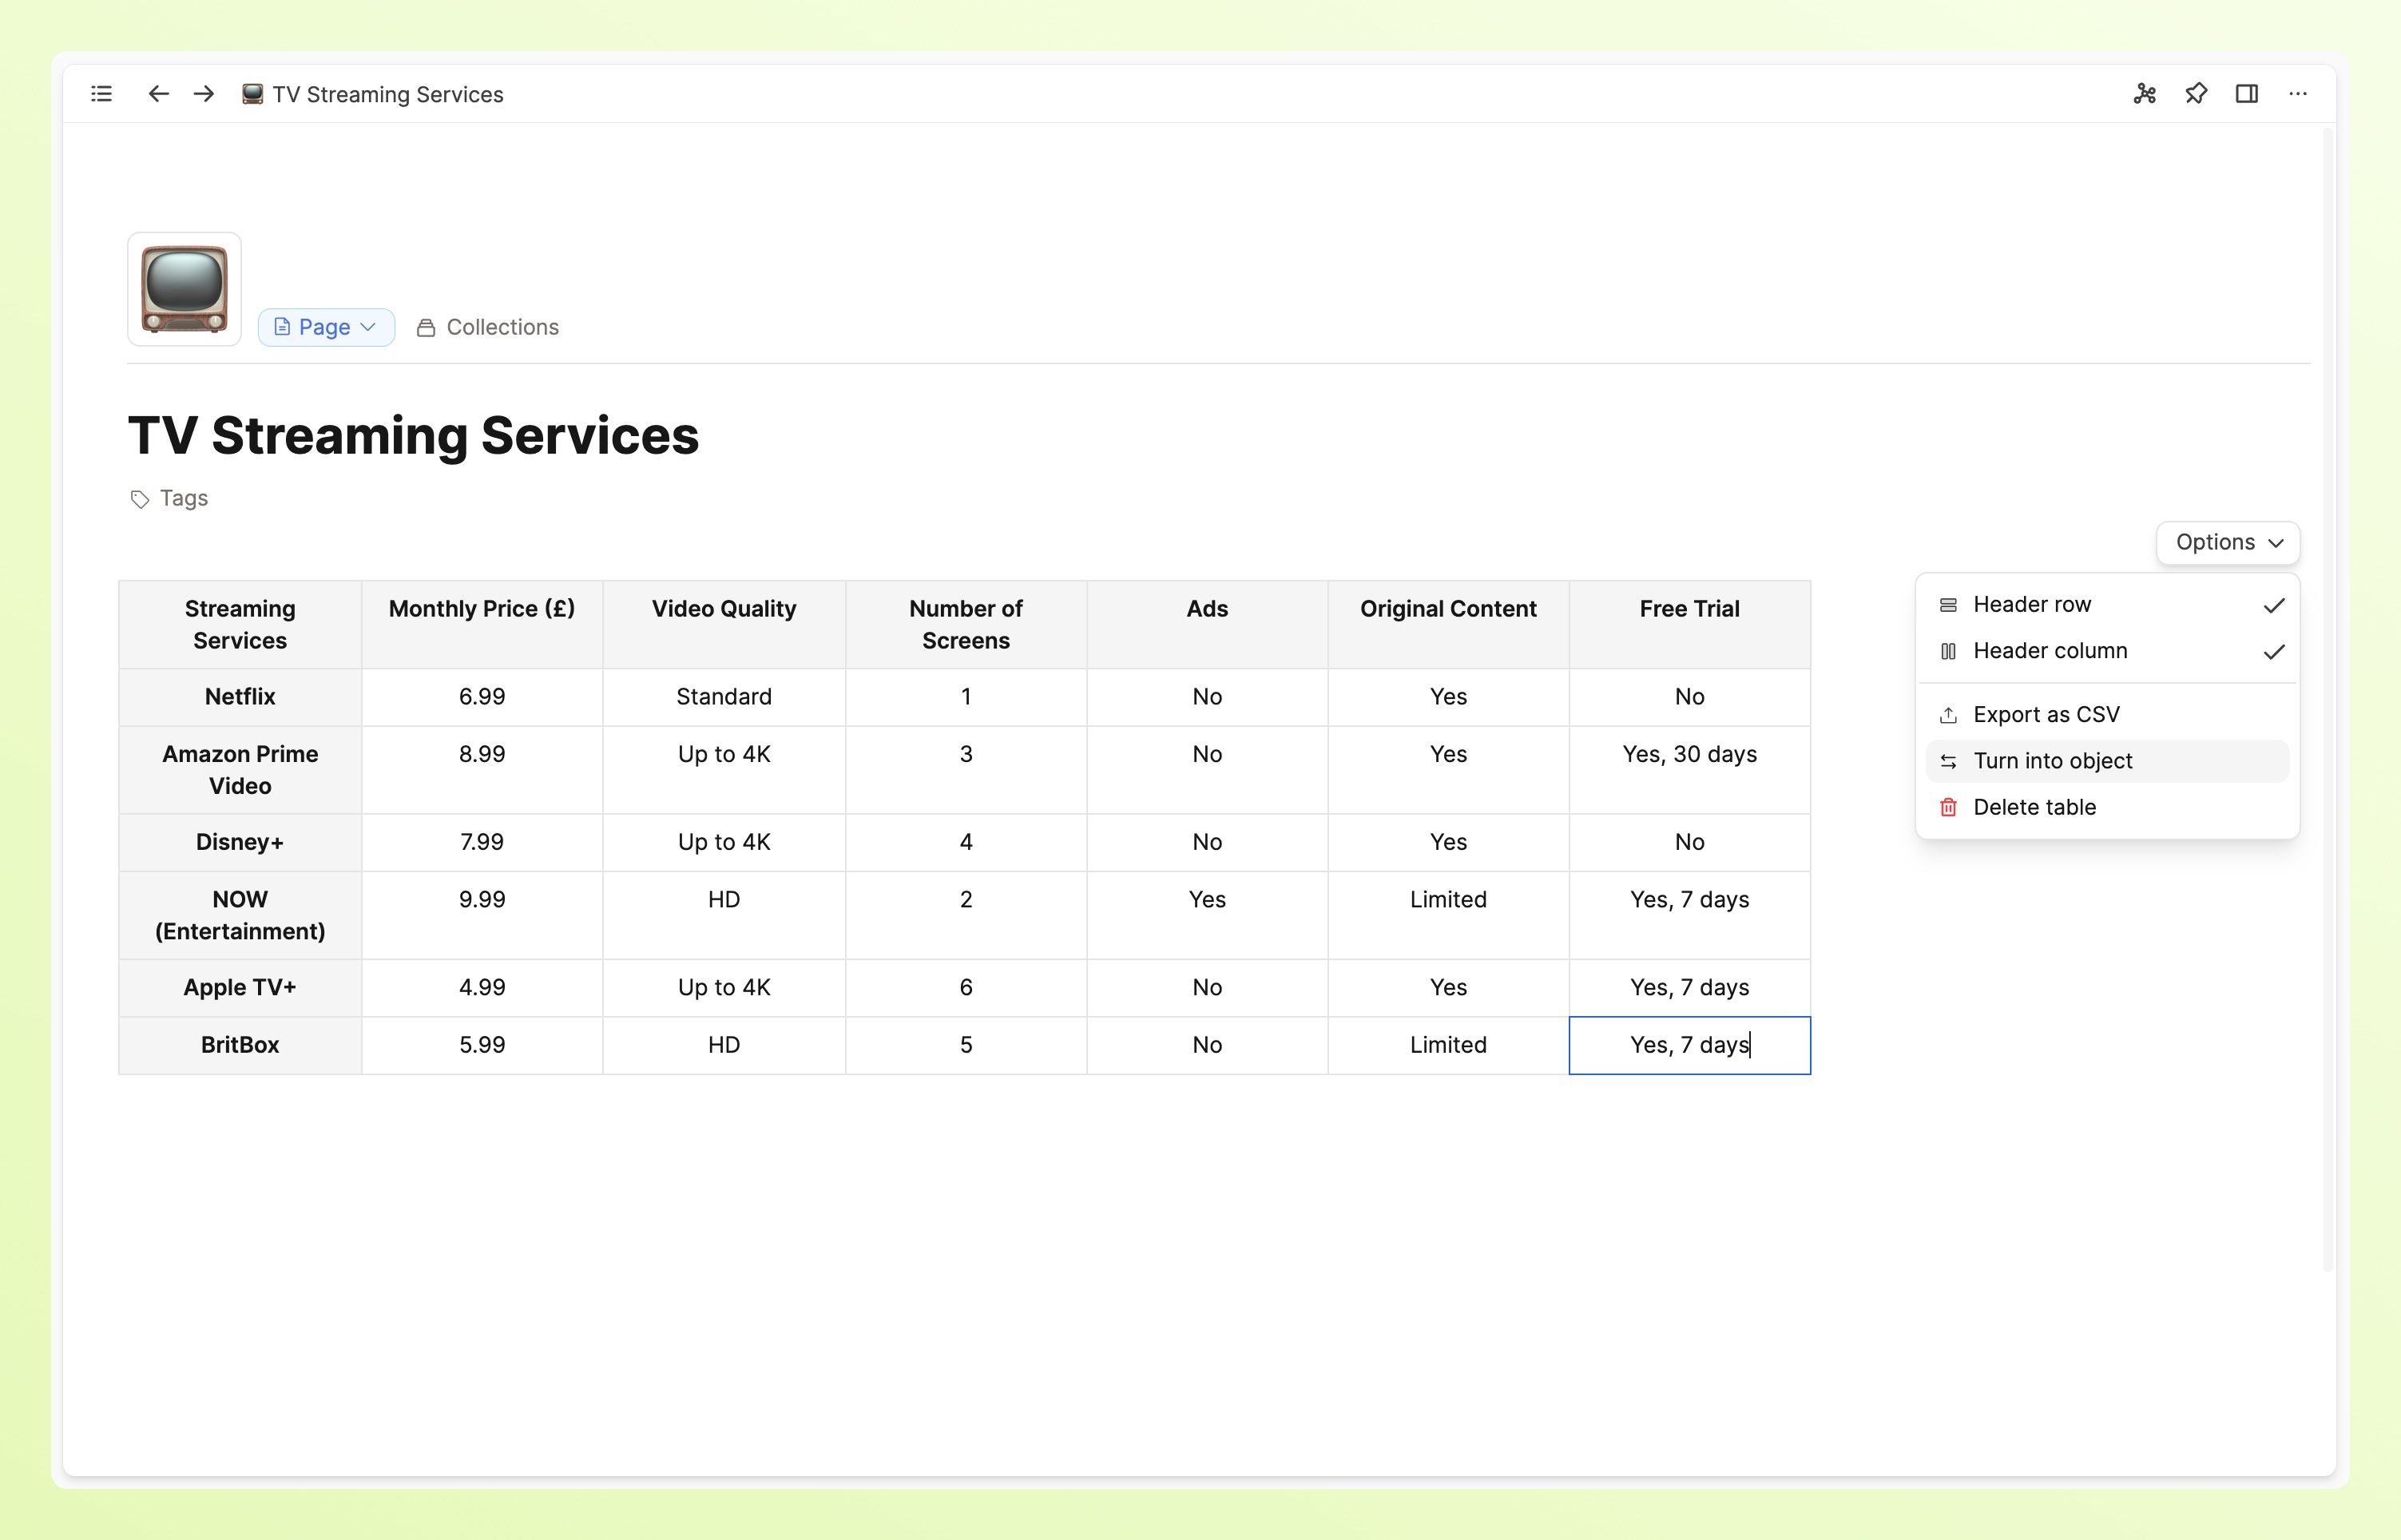
Table objects also have a blocks property, meaning you can add notes to the table specifically.
Export
As tables are blocks just like any other, they will appear when you export objects too.
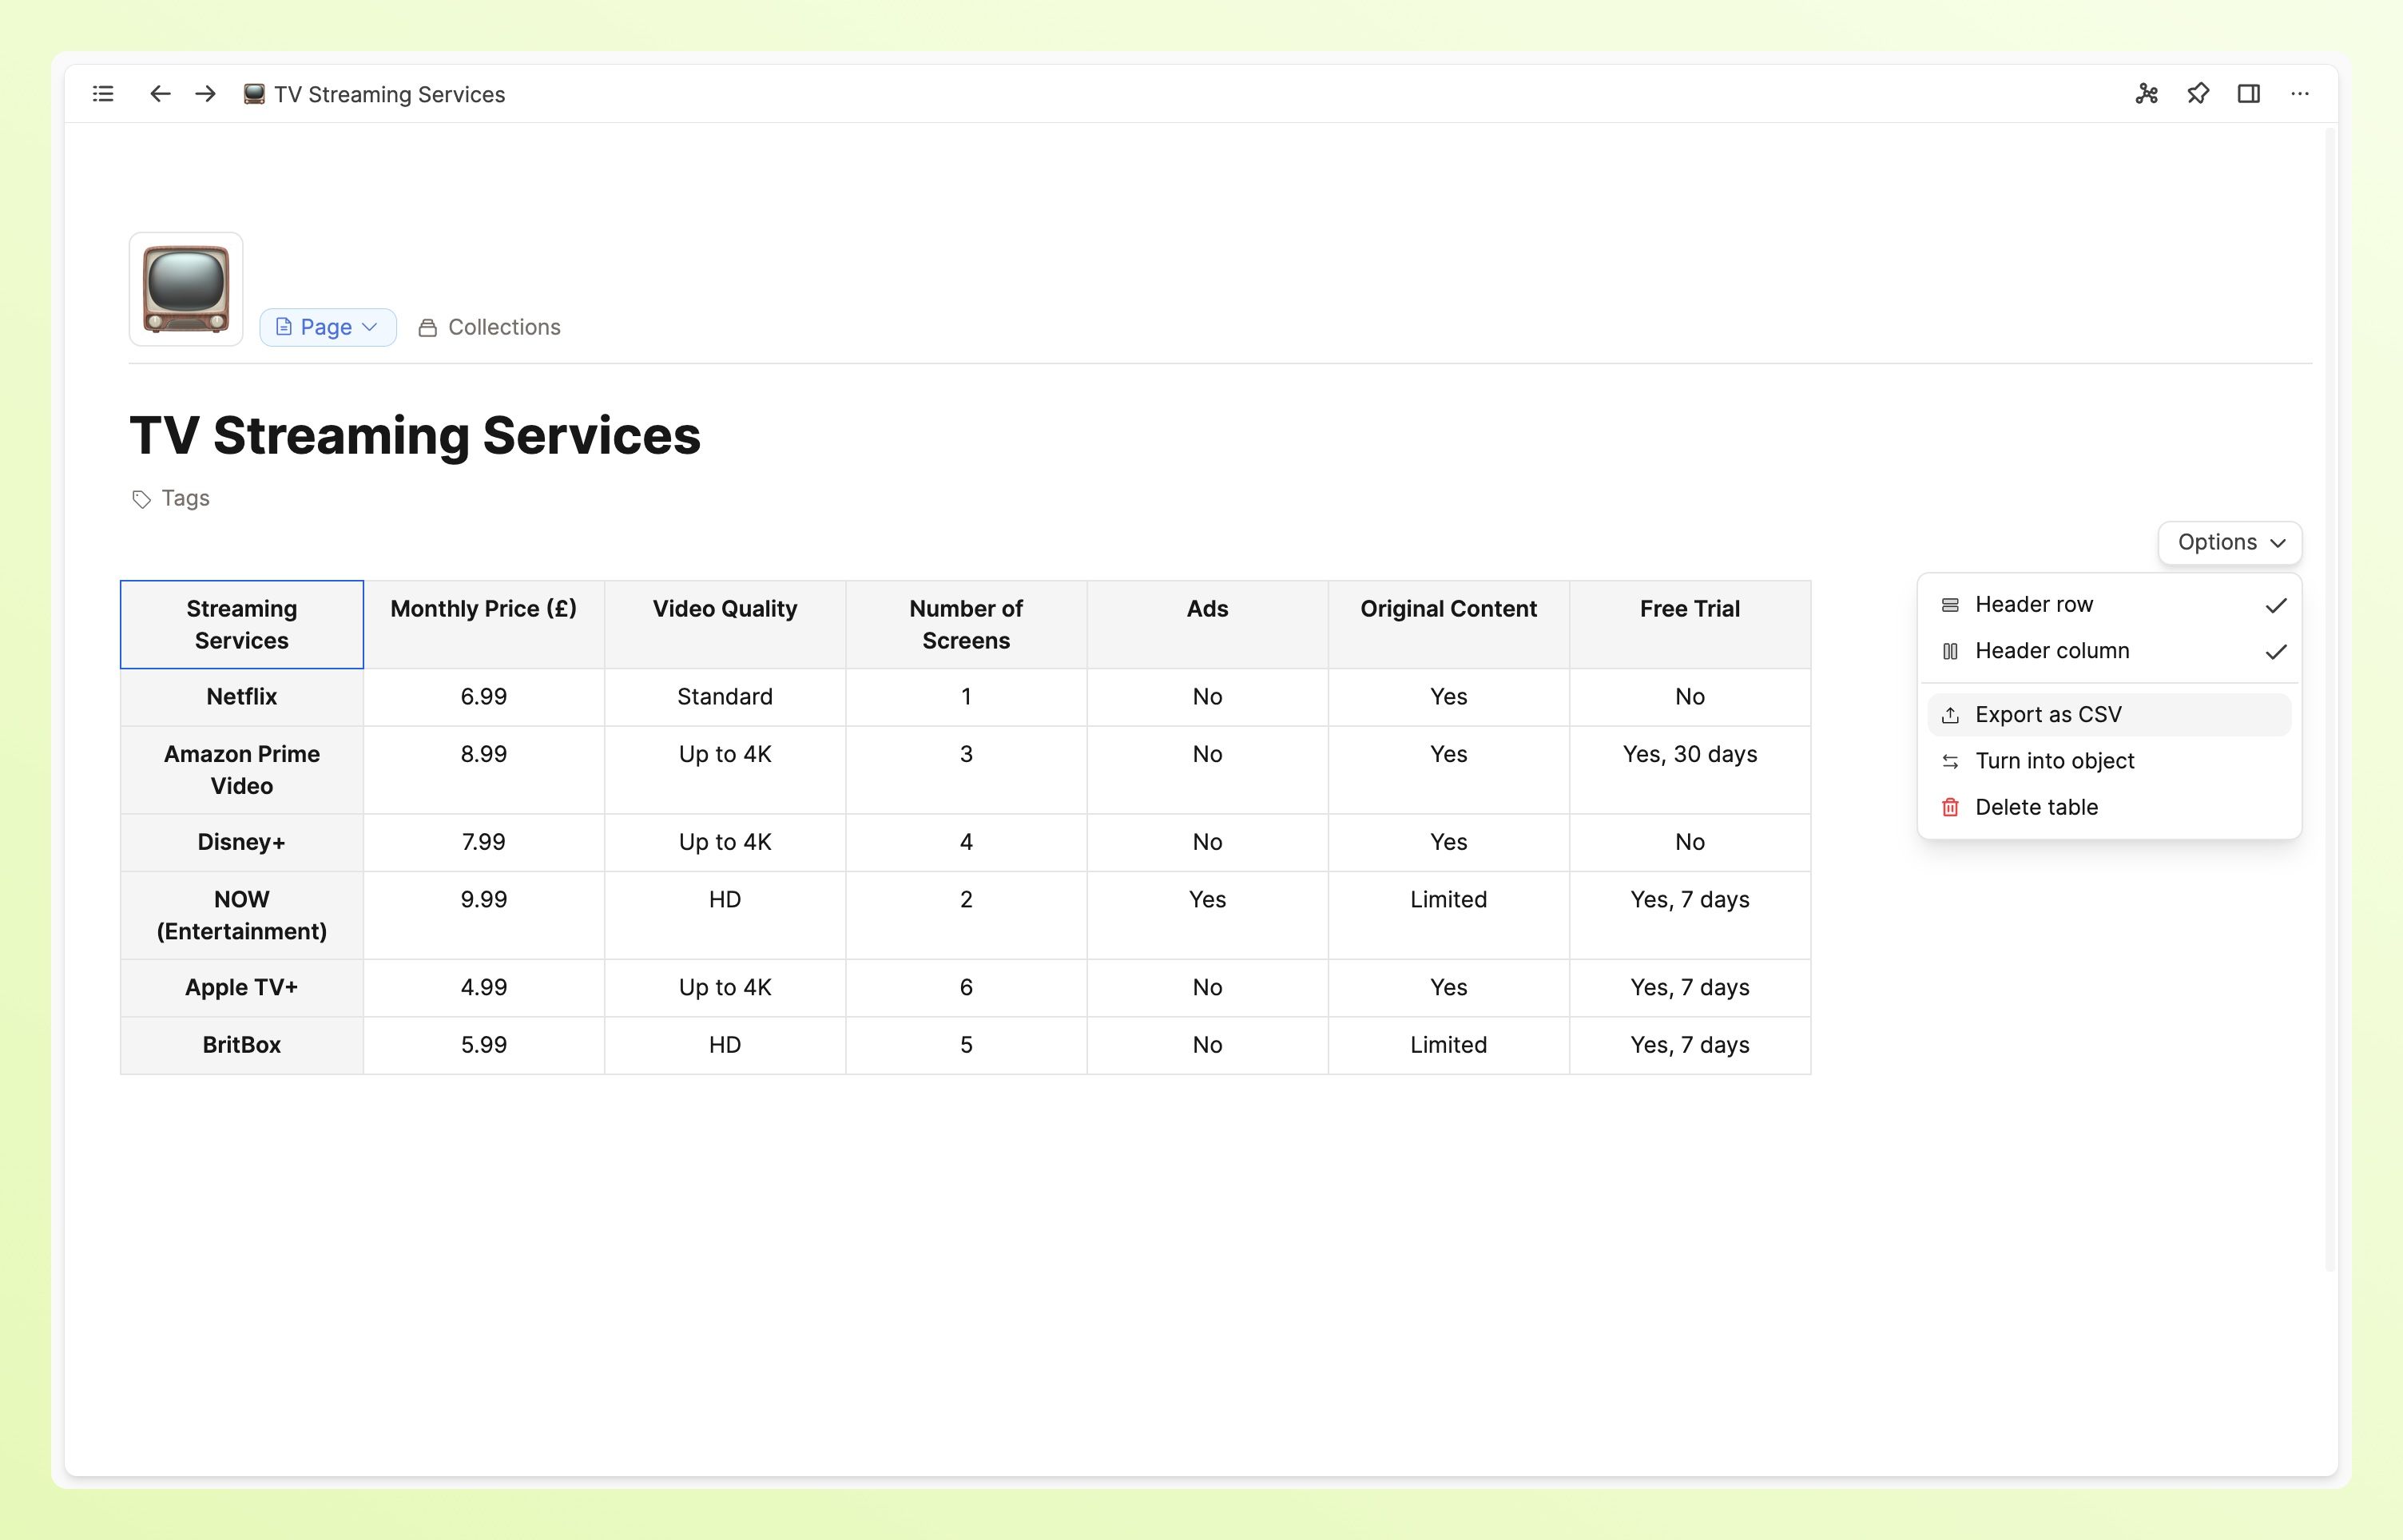
If you just want to export the table, you can export it as CSV from the table option menu:
If you want to a video introduction to tables, check out this video:
Formulas
Capacities ProIf you are on Capacities Pro or Capacities Believer, you can take your tables to the next level by adding formulas to your cells or columns.
Tables support a range of formulas such as:
- sum
- product
- average
- median
- finding the minimum/maximum values
- count values
- rounding values to nearest integer
- generating a random number
and more...
You can find all supported formulas in the table below.
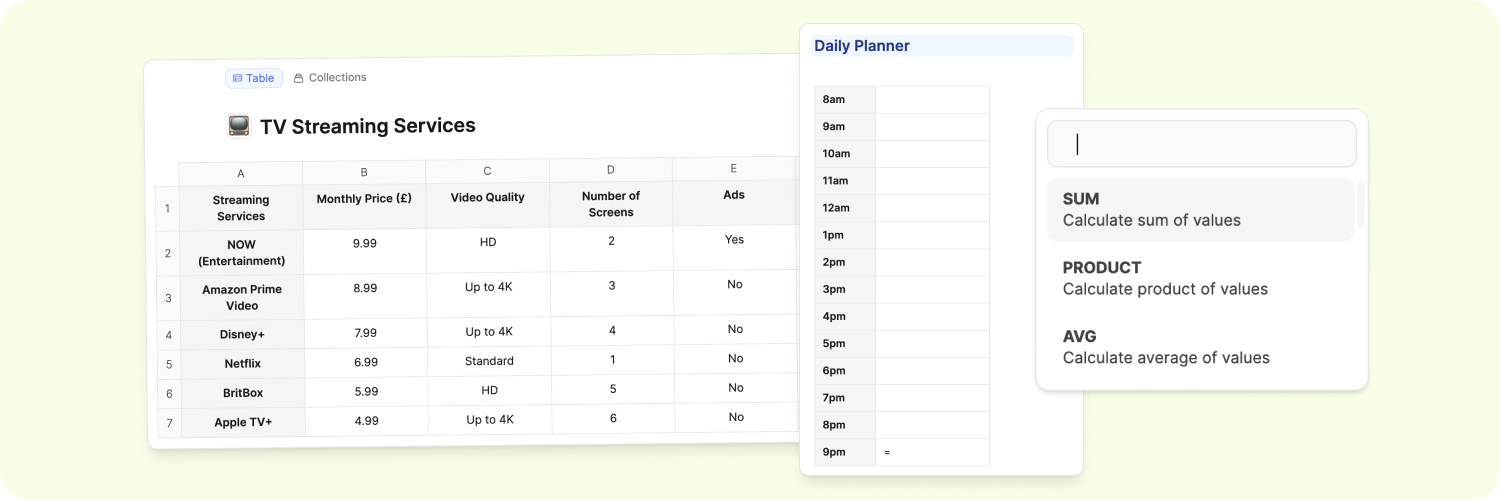
To begin a formula, go to a cell and type =.
Choose the formula you want to use, and the cells to which to apply it.
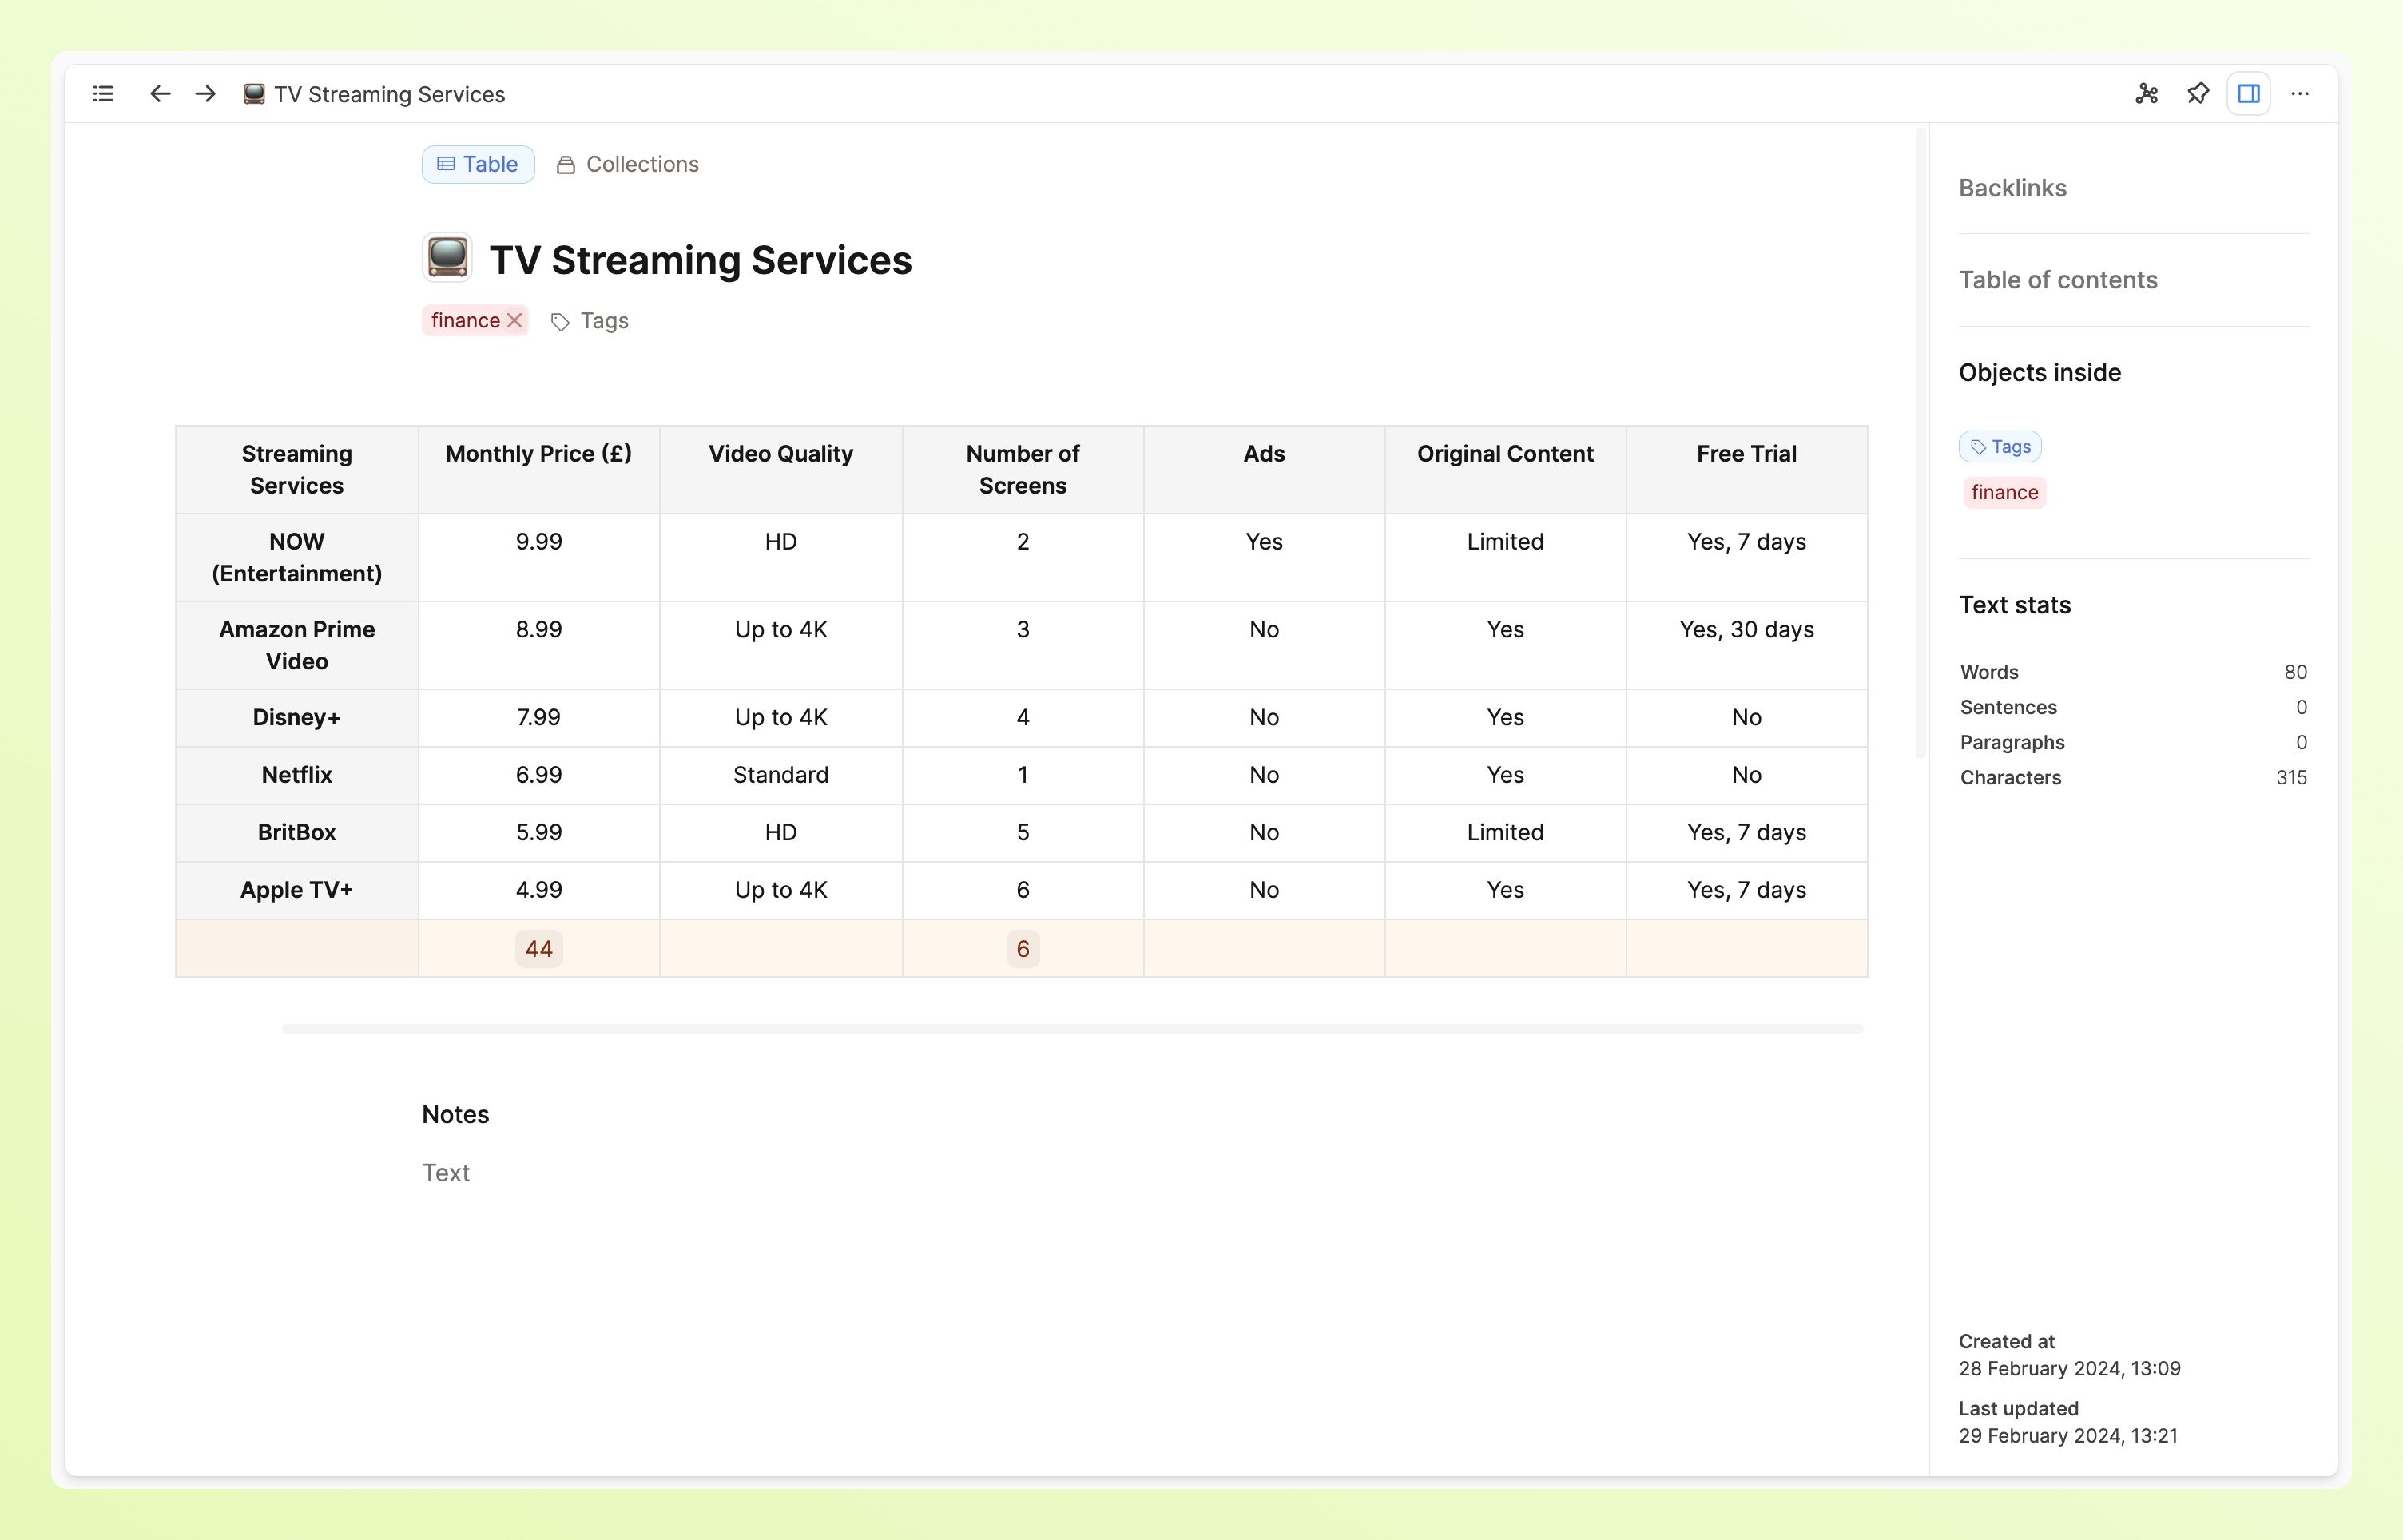
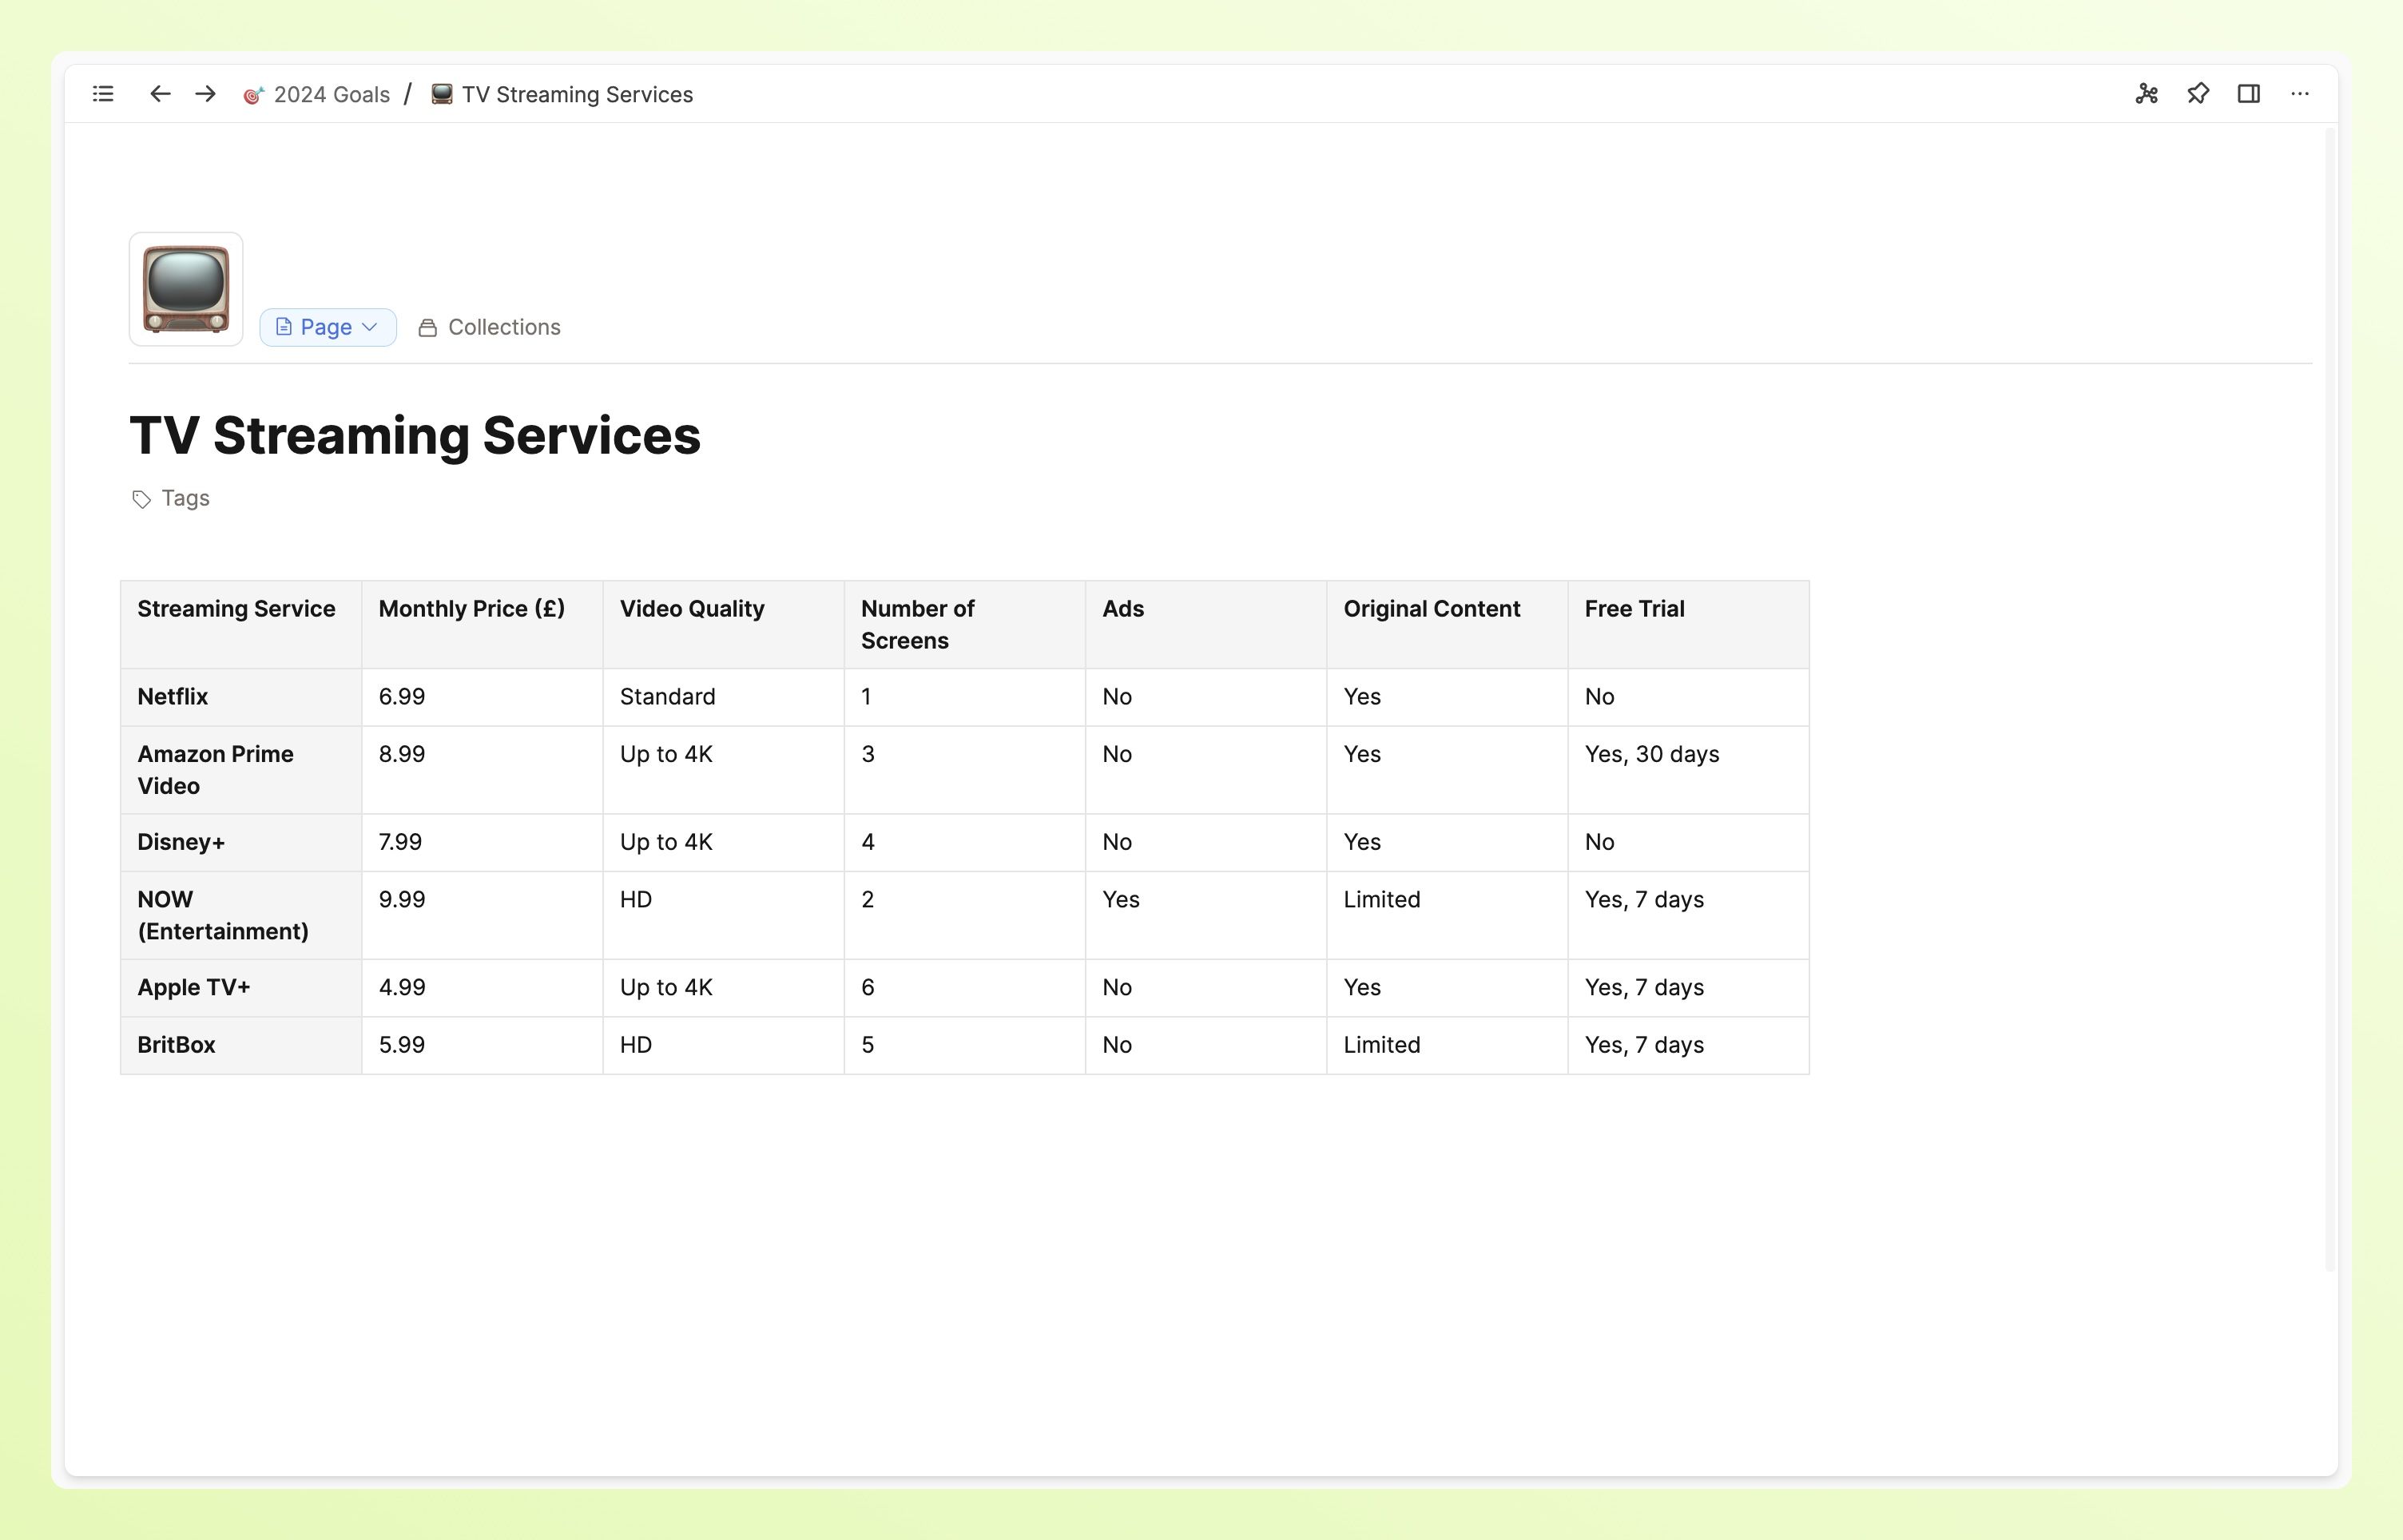
Column B uses =FLOOR(SUM(B2:B7)) to round down the sum of the total cost of subscriptions if they were all active.
Column D uses =COUNT(D2:D7) to count how many records are between D2 and D7.
Create a new column for your formula in this case. Read more here.
Formulas and Number Formatting
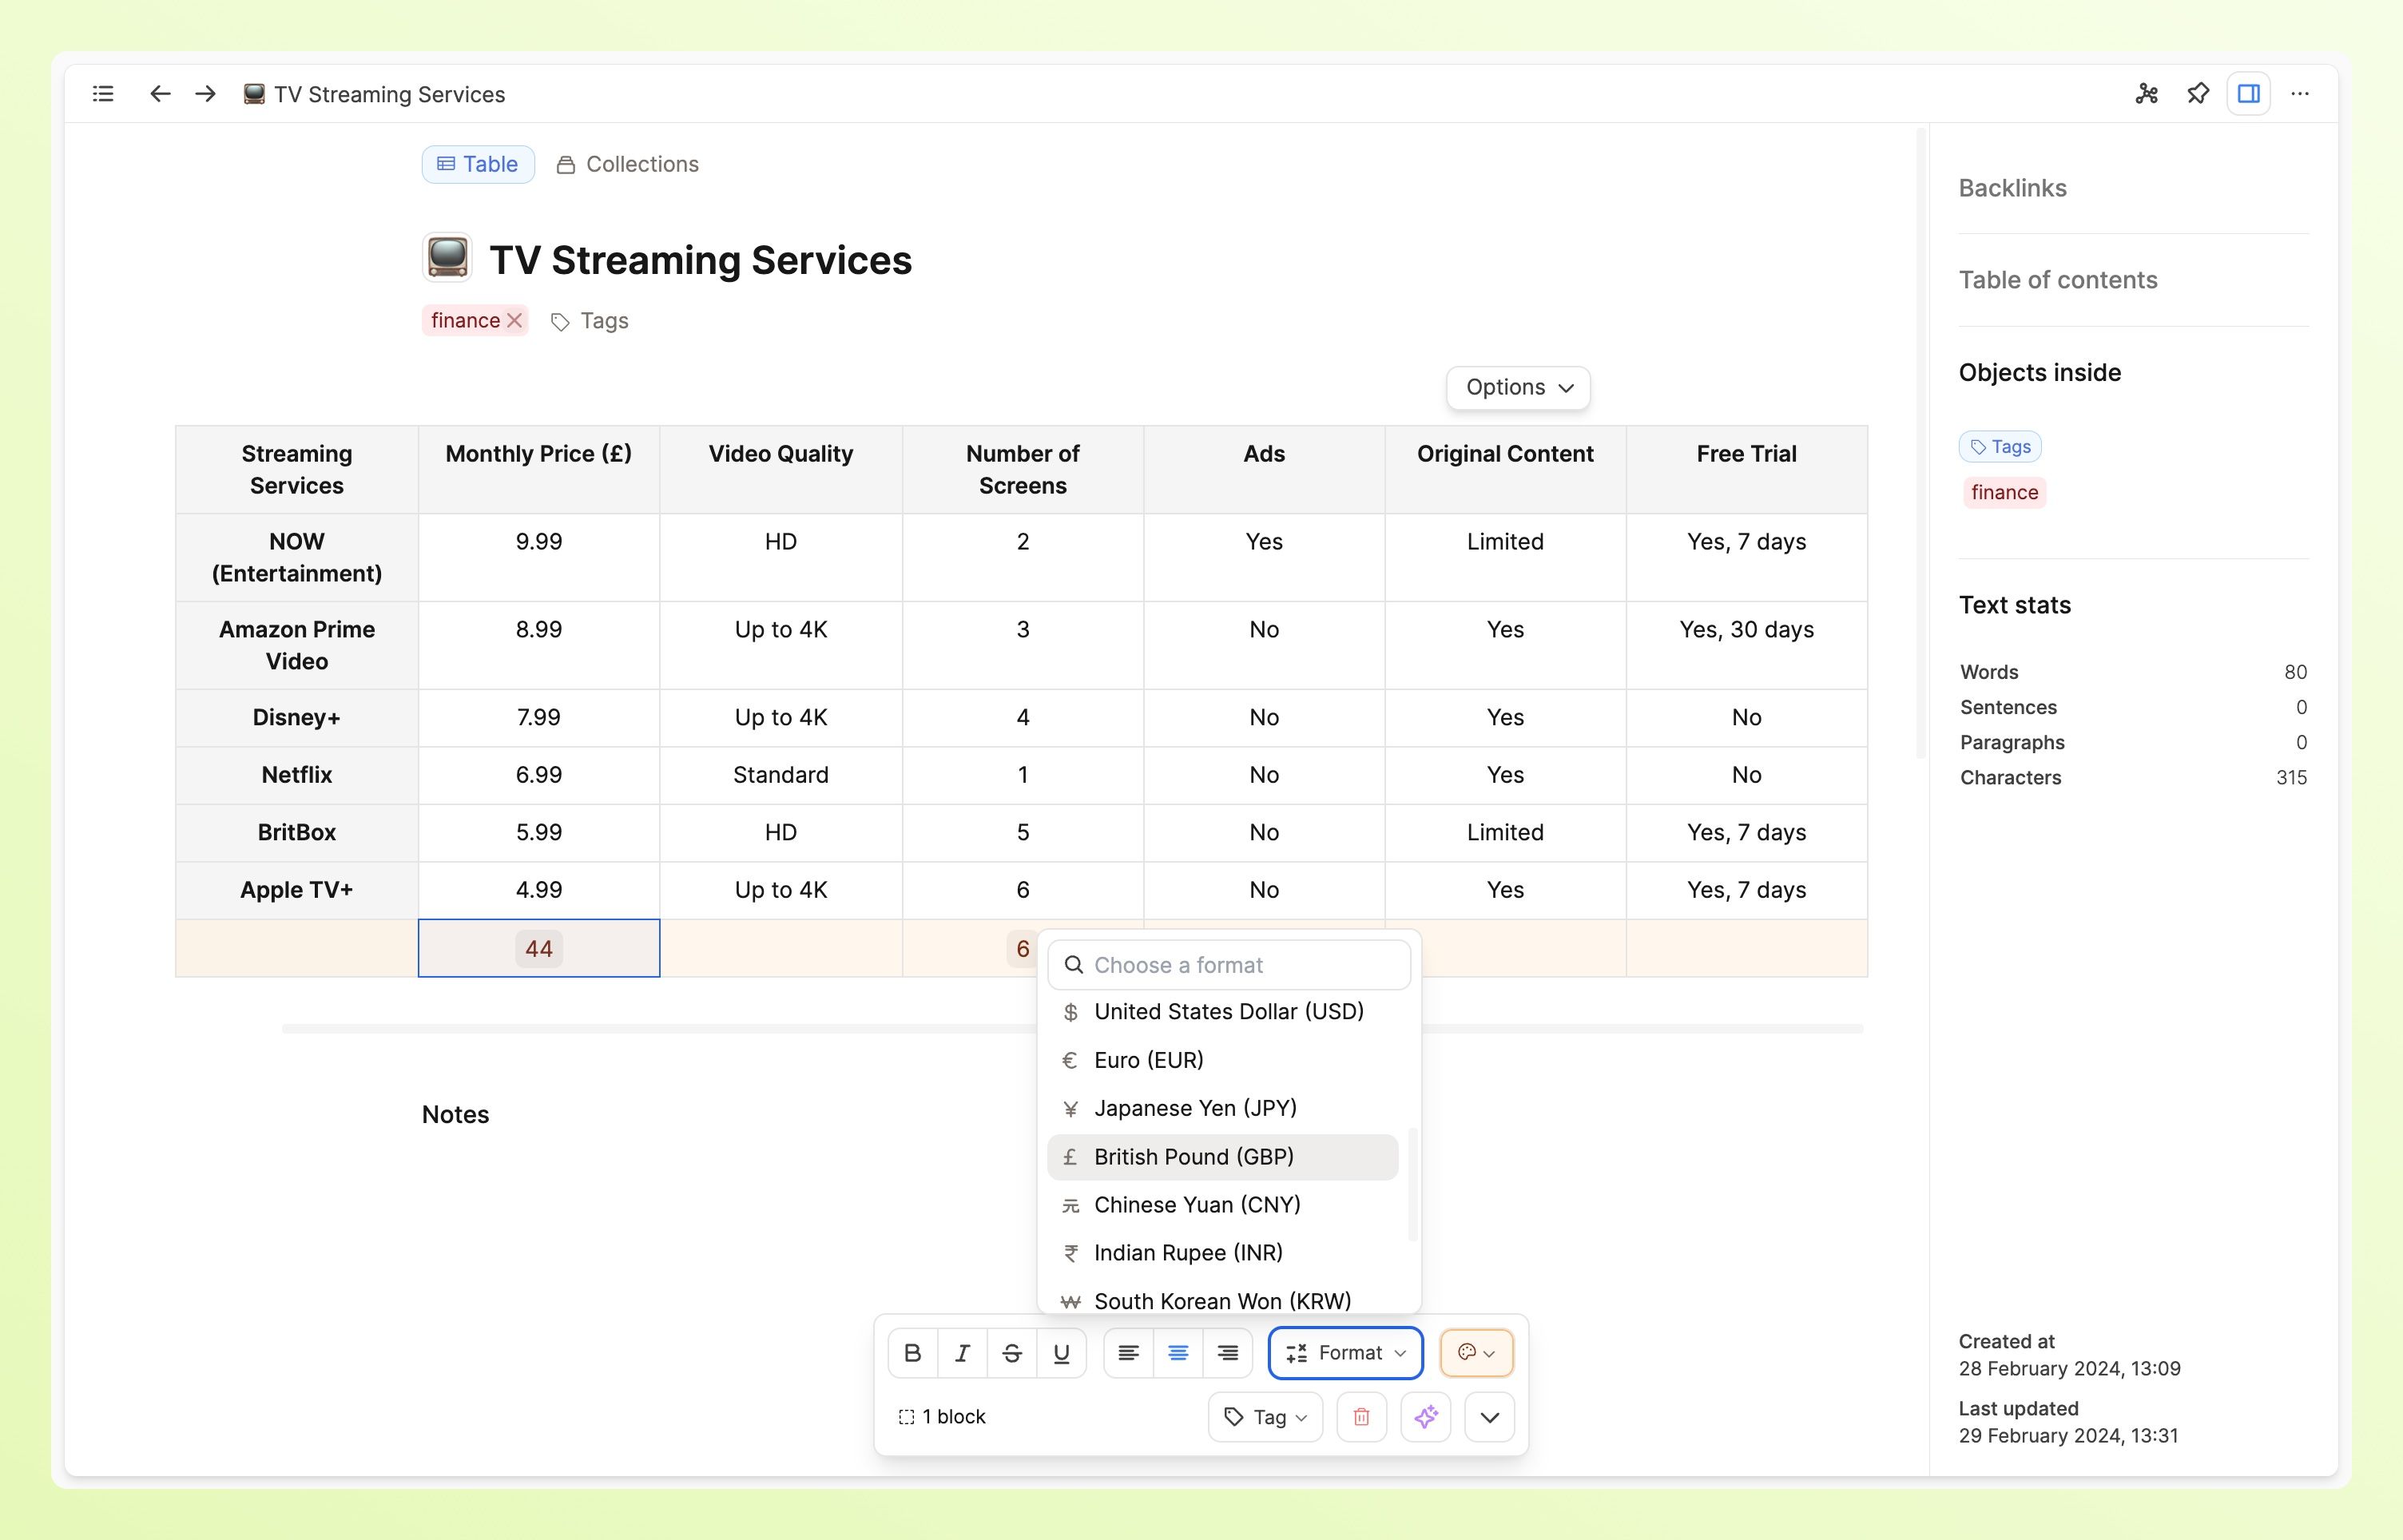
Number formatting works here too.
For example, you can add the relevant currency into a single cell, a column, or a row by selecting your chosen cells and choosing the relevant format from the formatting menu.
Supported formulas:
| Formula | Description |
|---|---|
| ABS | Get absolute value |
| AVG | Calculate average of values |
| CEIL | Round up to nearest integer |
| COUNT | Count number of values |
| E | Mathematical constant Euler's number |
| FLOOR | Round down to nearest integer |
| LOG | Calculate logarithm |
| MAX | Find maximum value |
| MEDIAN | Find median value |
| MIN | Find minimum value |
| PHI | Mathematical constant Golden ratio |
| PI | Mathematical constant Pi |
| PRODUCT | Calculate product of values |
| RAND | Generate a random number |
| ROUND | Round to nearest integer |
| SIGN | Get sign of value |
| SQRT | Calculate square root |
| SUM | Calculate sum of values |
| TAU | Mathematical constant Tau |
FAQs
- How do I add bullet points into tables?
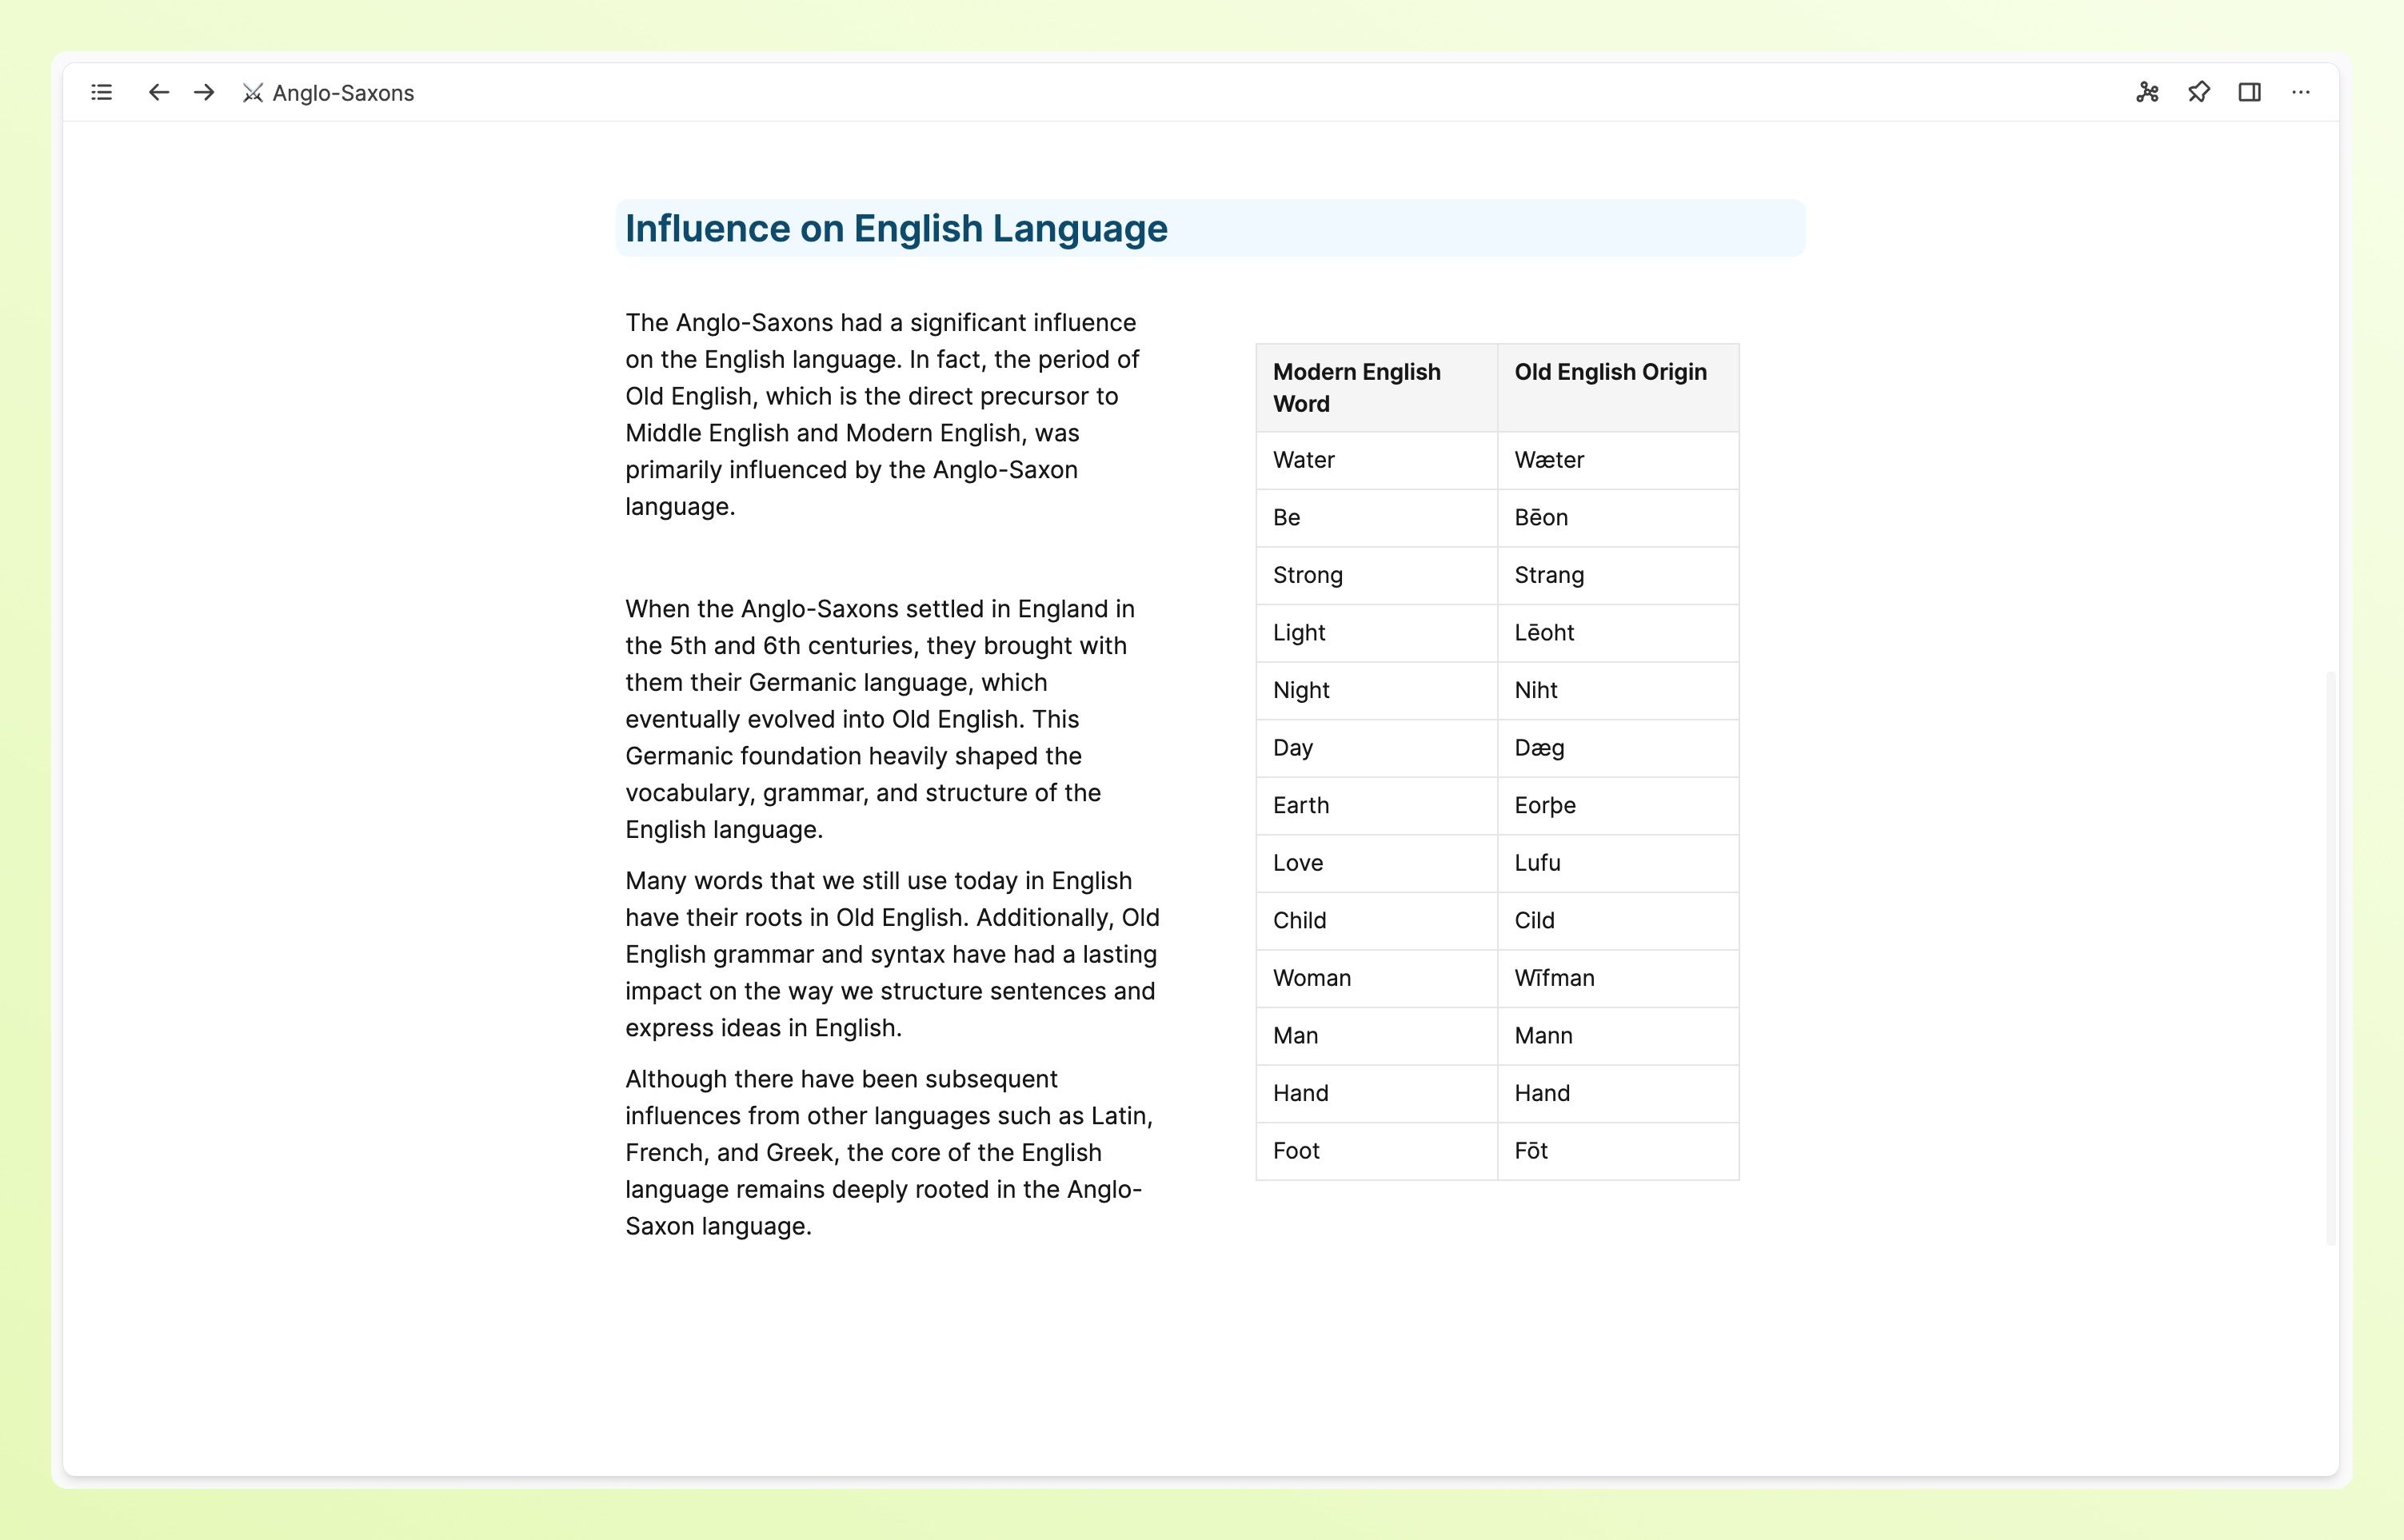
This is not supported. - How can I display images in tables?
This is not supported on any device.
Ask a question! - The Docs Assistant knows everything about the documentation, and the ideas and feature requests from other users.
Create a ticket on our feedback board. - Let us know if you have an idea for a feature, improvement or think there is something missing.
Request additions to the documentation. - If your questions are not getting answered, let us know and we will extend the documentation.